
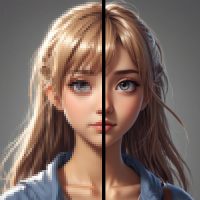



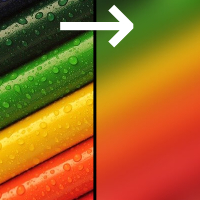
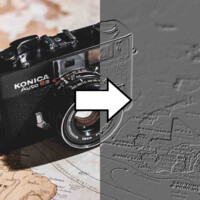
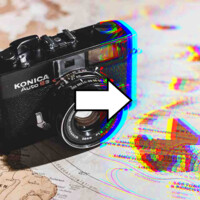
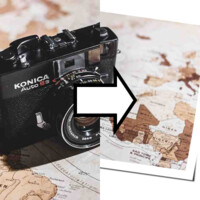
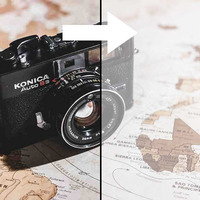
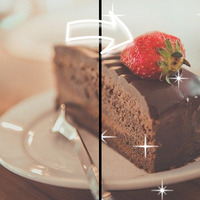

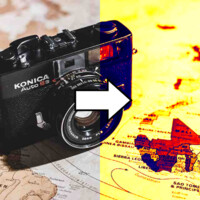
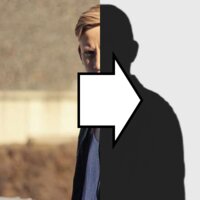
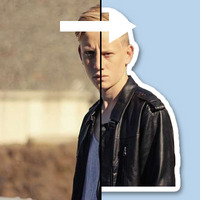
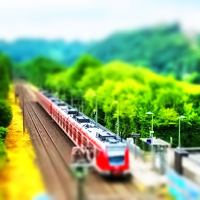
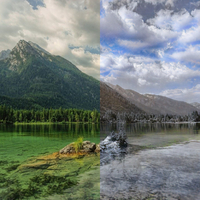
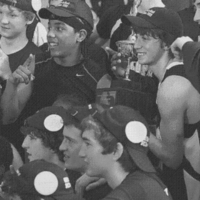
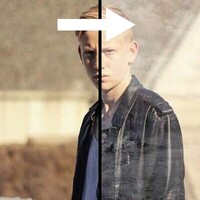
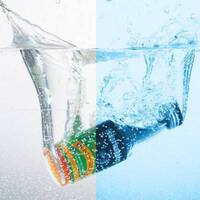
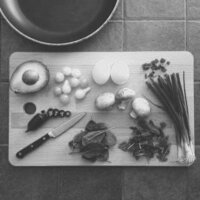
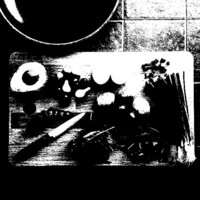


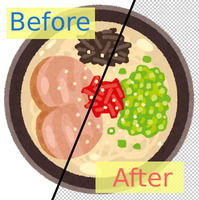
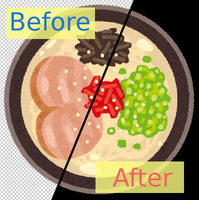
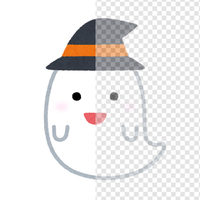
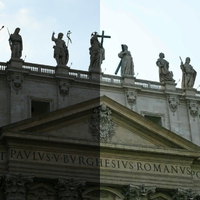
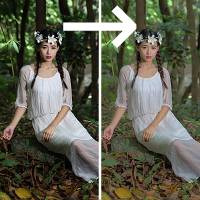
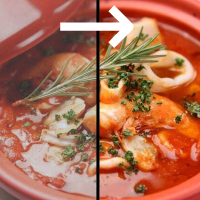
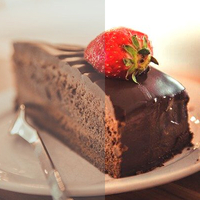

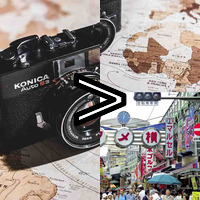
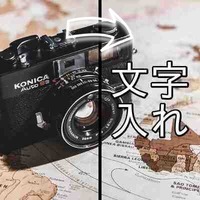




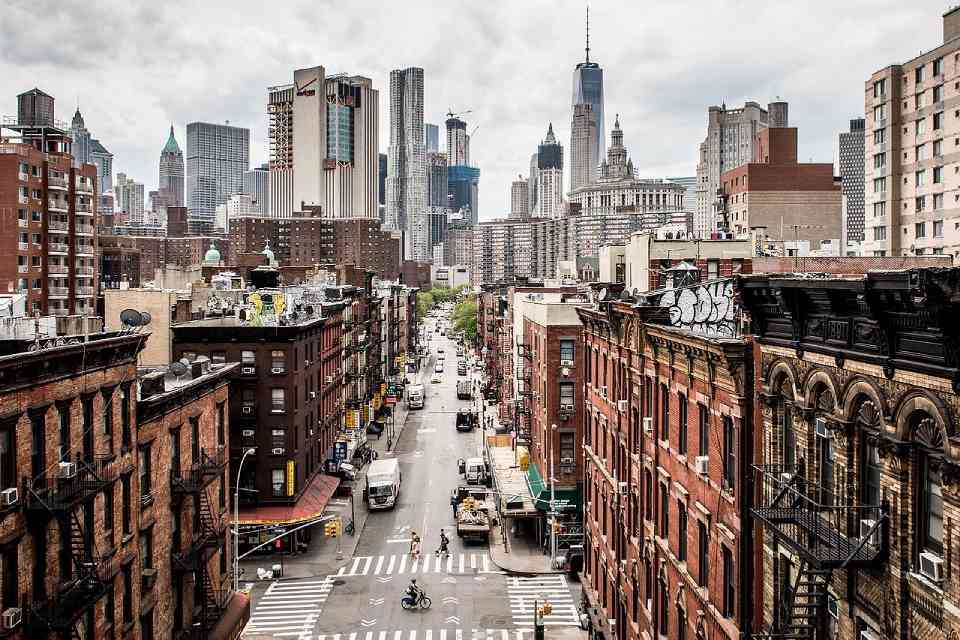
Sample Before
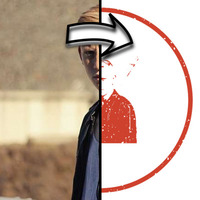
Sample After
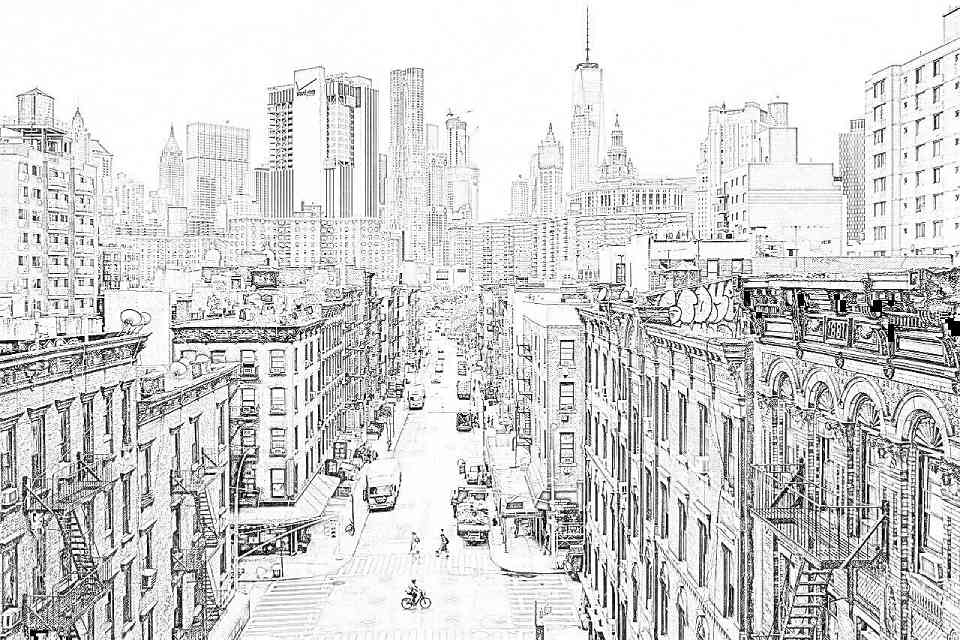
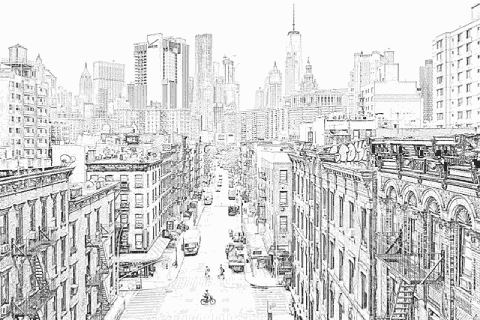
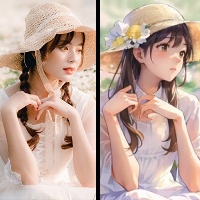
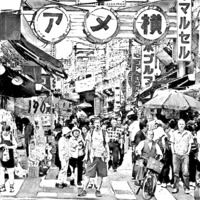
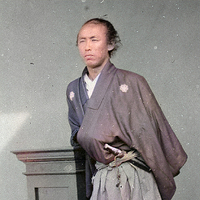
"Fine Pen" Style
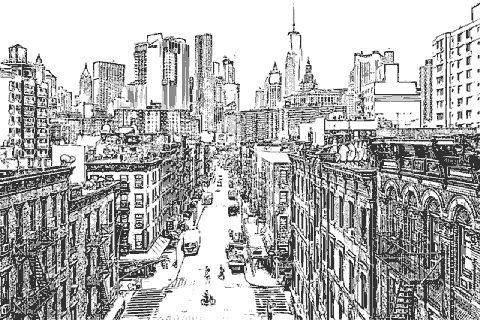
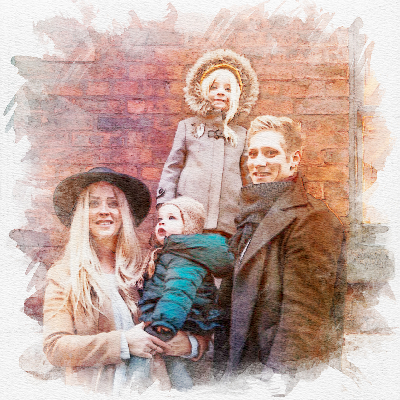
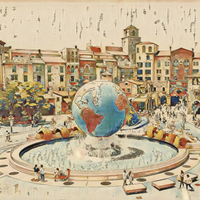
"Smooth Pen" Style
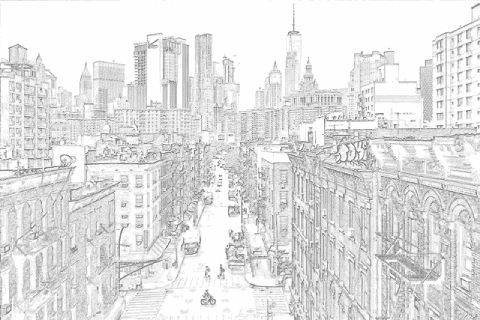
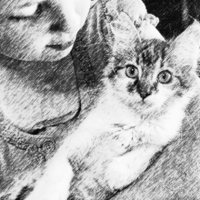
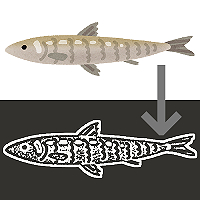
"Pencil" Style

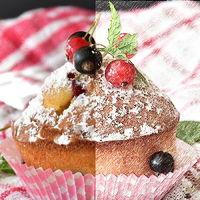
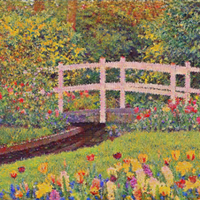
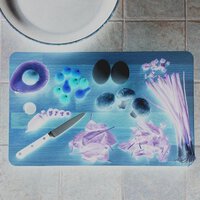
"Colored Pencil" Style
About This Feature
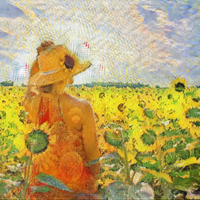
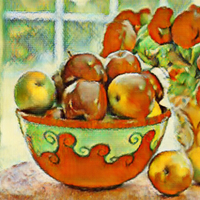
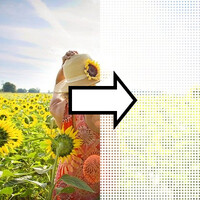
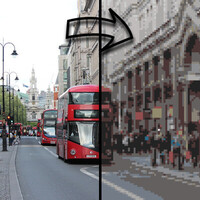
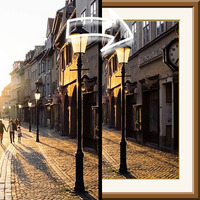
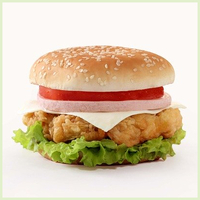
This page detects the outlines in your photos and illustrations and converts them into line drawings (coloring pages).
The default settings give you a good result in one click, but you can also fine-tune the line style, pen pressure, background color, and more.
Supported file formats are JPEG, PNG, GIF, WebP, and HEIC.
The default settings give you a good result in one click, but you can also fine-tune the line style, pen pressure, background color, and more.
Supported file formats are JPEG, PNG, GIF, WebP, and HEIC.
How to Use
-
1Choose Your ImageClick the "Browse" button or drag and drop an image onto the screen.
-
2ConvertClick the "CONVERT FOR FREE" button.
-
3DownloadClick the "DOWNLOAD" button.
DataChef Features

Easy and Free
Unlimited conversions for free.
No technical knowledge required.
Intuitive and user-friendly operation.
No technical knowledge required.
Intuitive and user-friendly operation.

No Registration Required
Available immediately after access.
Can be used without registering personal information.
Can be used without registering personal information.

Safe and Secure
Fully SSL encrypted communication.
Automatic file deletion by clicking "download".
Automatic file deletion by clicking "download".

Fast
High-speed site access
and rapid file conversion.
and rapid file conversion.
No Watermark
No watermark.
No attribution required.
No attribution required.
Commercial Use Available
Free for commercial use.
No need to contact us for commercial use permission.
No need to contact us for commercial use permission.
About Line Types

"Fine Pen" Style Example

"Smooth Pen" Style Example

"Pencil" Style Example

"Colored Pencil" Style Example
- Fine Pen(Recommended)
Produces lines with the touch of a mapping pen (a fine dip pen) used for drawing illustrations.
It excels at delicate detail and extracts lines accurately even in intricate areas, so the result keeps the look of the original image better than any other style.
It is a natural fit for adult coloring pages and artistic effects, and it produces stable results from almost any source image.
With its wide range of uses and short processing time, "Fine Pen" is the recommended choice whenever you are unsure.
- Smooth Pen
Produces lines that look drawn with a G-pen (a thick dip pen used in illustration work).
The lines come out anti-aliased (jagged edges are smoothed) and crisp with no shading, so the result looks much like a store-bought children's coloring book and is especially well suited to printing.
"Smooth Pen" works best on images that already have clear outlines, such as manga and anime, and on illustrations with flat coloring.
It is less suited to delicate artwork, noisy or low-quality images, and real-life portraits.
For best results, use a source image at least 1280px on its long side — and for JPEG, one that is not heavily compressed.
- Smooth Pen(vector graphics)
Only the "Smooth Pen" style can be output in vector format (an SVG file).
The touch is almost identical to the regular "Smooth Pen", but a vector image never turns jagged no matter how far you enlarge it, which makes it ideal for upscaling and printing.
Note that vector files cannot be saved on an iPhone or iPad.
Not every printer supports the format either, so this is a setting for advanced users.
- Pencil
The result looks like a rough pencil sketch. The line positions are easy to see and the color is light, so it works well as a base layer you can trace over by hand.
This mode suits technical drawing: photos with strong perspective, such as buildings and rooms, or machine blueprints where no line can afford to go missing.
Also, if a "Fine Pen" conversion leaves your lines washed out or crushed to black, trying again with "Pencil" can often fix it.
- Colored Pencil
The colors of the original image are extracted as the outlines. This is a good choice when you want the contour lines to blend in once you start coloring.
Wrinkles stand out less than they do with black lines, which makes this mode well suited to face photos. It also works nicely for food photos, keeping them looking delicious.
If you want to color with the same colors as the original, you can use the result as a coloring page with built-in guides showing which color goes where.
It is also a good pick for a soft, watercolor-style finish.
About Background
If you plan to print your coloring page and color it on paper, choose a white background; for digital coloring, a transparent background works best.
Extract the outlines with a transparent background, add a layer underneath, and paint on that lower layer — your coloring will never cover up the extracted lines.
About Noise
Images with little noise from low-light shooting or heavy JPEG compression convert more cleanly.
If the original still looks clean when viewed at twice its size, the output will pick up very little noise.
The "Fine Pen" setting is also the least prone to noise.
If noise bothers you after converting, open "Settings" and move the "Noise Reduction" slider to the right.
About Line Types
"Fine Pen" Style Example
"Smooth Pen" Style Example
"Pencil" Style Example
"Colored Pencil" Style Example
- Fine Pen(Recommended)
Produces lines with the touch of a mapping pen (a fine dip pen) used for drawing illustrations.
It excels at delicate detail and extracts lines accurately even in intricate areas, so the result keeps the look of the original image better than any other style.
It is a natural fit for adult coloring pages and artistic effects, and it produces stable results from almost any source image.
With its wide range of uses and short processing time, "Fine Pen" is the recommended choice whenever you are unsure. - Smooth Pen
Produces lines that look drawn with a G-pen (a thick dip pen used in illustration work).
The lines come out anti-aliased (jagged edges are smoothed) and crisp with no shading, so the result looks much like a store-bought children's coloring book and is especially well suited to printing.
"Smooth Pen" works best on images that already have clear outlines, such as manga and anime, and on illustrations with flat coloring.
It is less suited to delicate artwork, noisy or low-quality images, and real-life portraits.
For best results, use a source image at least 1280px on its long side — and for JPEG, one that is not heavily compressed. - Smooth Pen(vector graphics)
Only the "Smooth Pen" style can be output in vector format (an SVG file).
The touch is almost identical to the regular "Smooth Pen", but a vector image never turns jagged no matter how far you enlarge it, which makes it ideal for upscaling and printing.
Note that vector files cannot be saved on an iPhone or iPad.
Not every printer supports the format either, so this is a setting for advanced users. - Pencil
The result looks like a rough pencil sketch. The line positions are easy to see and the color is light, so it works well as a base layer you can trace over by hand.
This mode suits technical drawing: photos with strong perspective, such as buildings and rooms, or machine blueprints where no line can afford to go missing.
Also, if a "Fine Pen" conversion leaves your lines washed out or crushed to black, trying again with "Pencil" can often fix it. - Colored Pencil
The colors of the original image are extracted as the outlines. This is a good choice when you want the contour lines to blend in once you start coloring.
Wrinkles stand out less than they do with black lines, which makes this mode well suited to face photos. It also works nicely for food photos, keeping them looking delicious.
If you want to color with the same colors as the original, you can use the result as a coloring page with built-in guides showing which color goes where.
It is also a good pick for a soft, watercolor-style finish.
About Background
If you plan to print your coloring page and color it on paper, choose a white background; for digital coloring, a transparent background works best.
Extract the outlines with a transparent background, add a layer underneath, and paint on that lower layer — your coloring will never cover up the extracted lines.
About Noise
Images with little noise from low-light shooting or heavy JPEG compression convert more cleanly.
If the original still looks clean when viewed at twice its size, the output will pick up very little noise.
The "Fine Pen" setting is also the least prone to noise.
If noise bothers you after converting, open "Settings" and move the "Noise Reduction" slider to the right.

Ad