
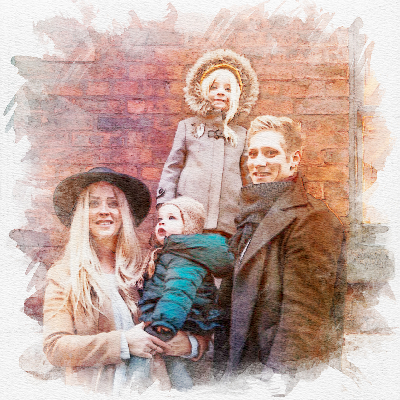


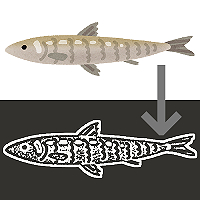
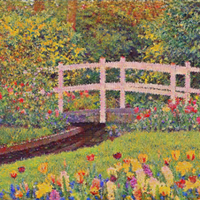
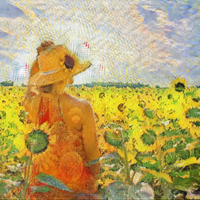
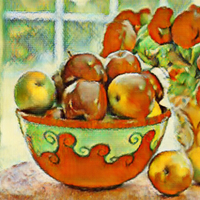
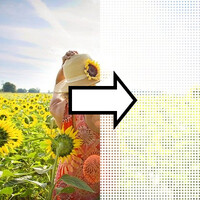
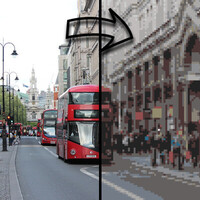



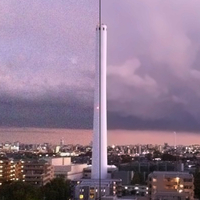
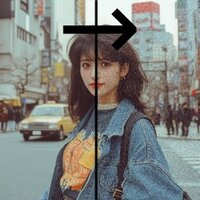
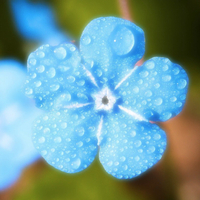

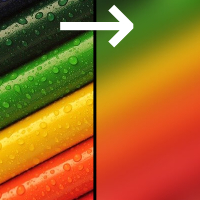
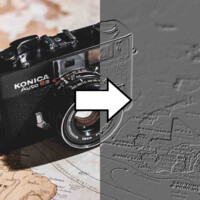
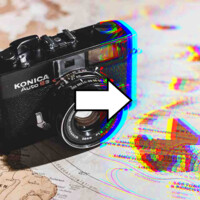
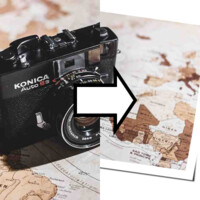
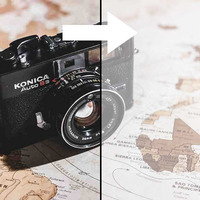
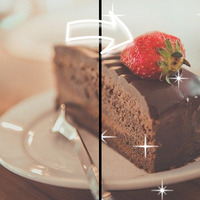

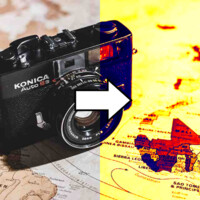
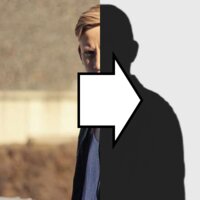
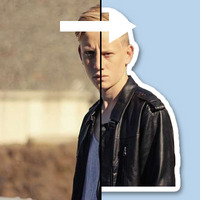
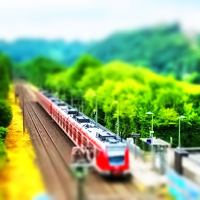
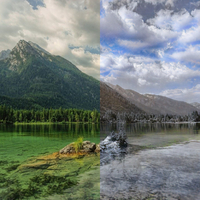
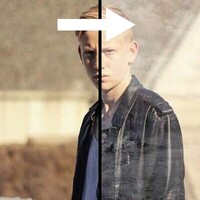
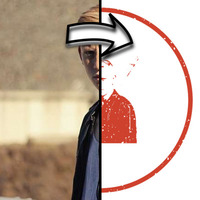

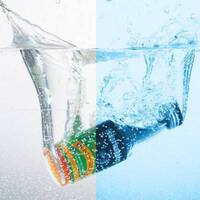

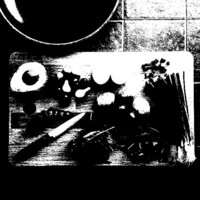


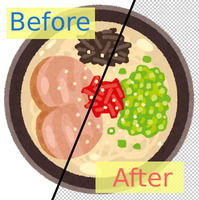
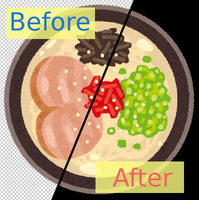

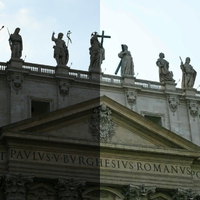
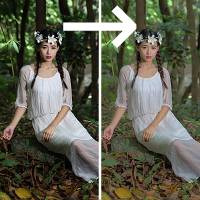
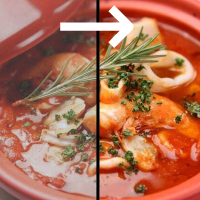
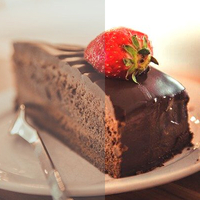

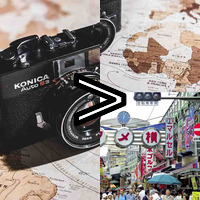

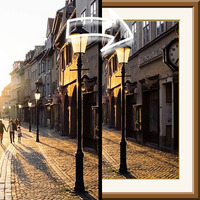












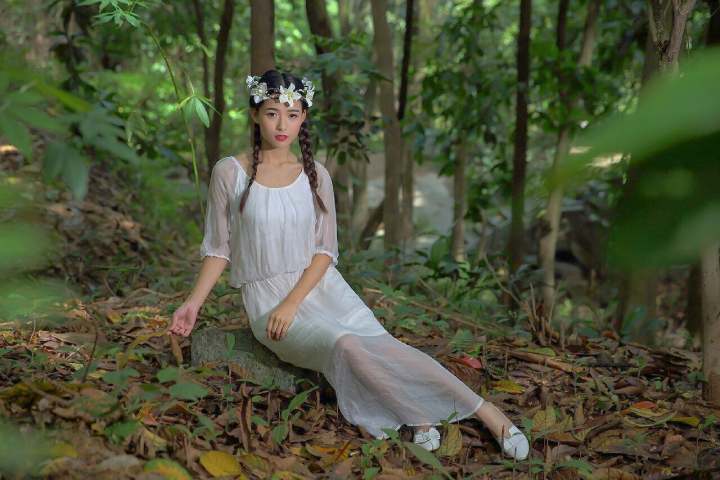
Sample Before
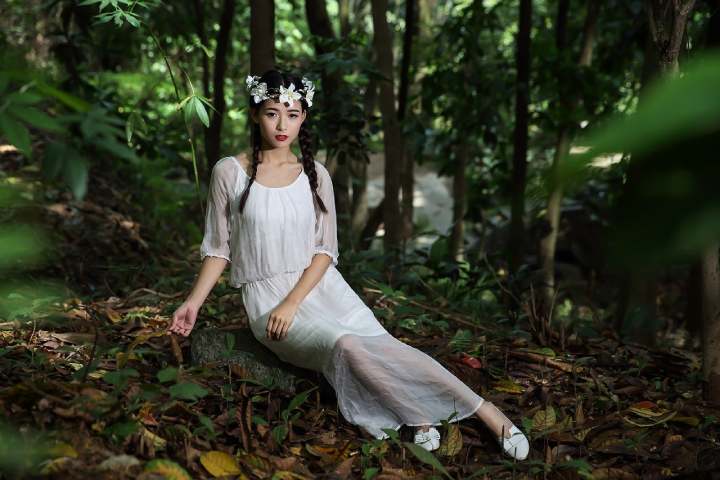
Sample After
About This Feature
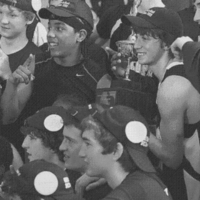
This page recreates a camera feature called HDR after the fact, so you can partly rescue photos like these:
Overexposed photos
* Photos so bright that even non-white subjects wash out toward white and their outlines start to disappear.
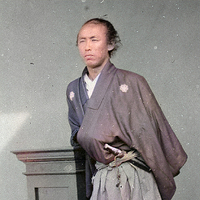
Underexposed photos
* Photos so dark that even non-black subjects sink toward black and their outlines become almost impossible to see.
Overexposed photos
* Photos so bright that even non-white subjects wash out toward white and their outlines start to disappear.
Underexposed photos
* Photos so dark that even non-black subjects sink toward black and their outlines become almost impossible to see.
How to Use
-
1Choose Your ImageClick the "Browse" button or drag and drop an image onto the screen.
-
2ConvertClick the "CONVERT FOR FREE" button.
-
3DownloadClick the "DOWNLOAD" button.
DataChef Features

Easy and Free
Unlimited conversions for free.
No technical knowledge required.
Intuitive and user-friendly operation.
No technical knowledge required.
Intuitive and user-friendly operation.

No Registration Required
Available immediately after access.
Can be used without registering personal information.
Can be used without registering personal information.

Safe and Secure
Fully SSL encrypted communication.
Automatic file deletion by clicking "download".
Automatic file deletion by clicking "download".

Fast
High-speed site access
and rapid file conversion.
and rapid file conversion.
No Watermark
No watermark.
No attribution required.
No attribution required.

Commercial Use Available
Free for commercial use.
No need to contact us for commercial use permission.
No need to contact us for commercial use permission.
What Is HDR?
HDR (High Dynamic Range) is a feature that captures a bright and a dark exposure of the same scene and blends them together. This prevents blown-out highlights in bright areas (a blue sky turning white, for example) and crushed shadows in dark areas (a shaded spot going so black you cannot make out its outline).
It is especially useful when a scene contains both very bright and very dark areas at once — shooting a bright window from inside a dim room, or shooting against the light — where no single exposure setting can keep both the highlights and the shadows, so one always gets sacrificed.
HDR is built into many cameras, including the iPhone (iOS) camera.
Shoot in HDR mode and the two exposures are captured and merged for you automatically — no need to take and combine the shots yourself.
What You Can Do Here
Real HDR has to be turned on at the moment you shoot, and normally cannot be applied afterward. This page works around that, letting you apply a simulated HDR effect to an ordinary photo that was taken without HDR.
Use it when you grabbed a quick shot so as not to miss the moment, then looked at it later and found that parts which looked fine to your own eye came out washed out or crushed to black in the photo.
Faint outlines become easier to see, and you can partly recover the original color of areas that turned white from being too bright or black from being too dark.
Because this is only a simulated HDR, it cannot bring back detail where the sky is already completely blown out or a shadow is already completely crushed. But for photos where the bright areas are merely starting to wash out and the dark areas are merely starting to go black, it gives a clean result.
You can control how strongly the HDR correction is applied with the "Fix Level" slider under "Settings".
Supported file formats are JPEG, PNG, GIF, and BMP.
What Is HDR?
HDR (High Dynamic Range) is a feature that captures a bright and a dark exposure of the same scene and blends them together. This prevents blown-out highlights in bright areas (a blue sky turning white, for example) and crushed shadows in dark areas (a shaded spot going so black you cannot make out its outline).
It is especially useful when a scene contains both very bright and very dark areas at once — shooting a bright window from inside a dim room, or shooting against the light — where no single exposure setting can keep both the highlights and the shadows, so one always gets sacrificed.
HDR is built into many cameras, including the iPhone (iOS) camera.
Shoot in HDR mode and the two exposures are captured and merged for you automatically — no need to take and combine the shots yourself.
What You Can Do Here
Real HDR has to be turned on at the moment you shoot, and normally cannot be applied afterward. This page works around that, letting you apply a simulated HDR effect to an ordinary photo that was taken without HDR.
Use it when you grabbed a quick shot so as not to miss the moment, then looked at it later and found that parts which looked fine to your own eye came out washed out or crushed to black in the photo.
Faint outlines become easier to see, and you can partly recover the original color of areas that turned white from being too bright or black from being too dark.
Because this is only a simulated HDR, it cannot bring back detail where the sky is already completely blown out or a shadow is already completely crushed. But for photos where the bright areas are merely starting to wash out and the dark areas are merely starting to go black, it gives a clean result.
You can control how strongly the HDR correction is applied with the "Fix Level" slider under "Settings".
Supported file formats are JPEG, PNG, GIF, and BMP.
Related Features
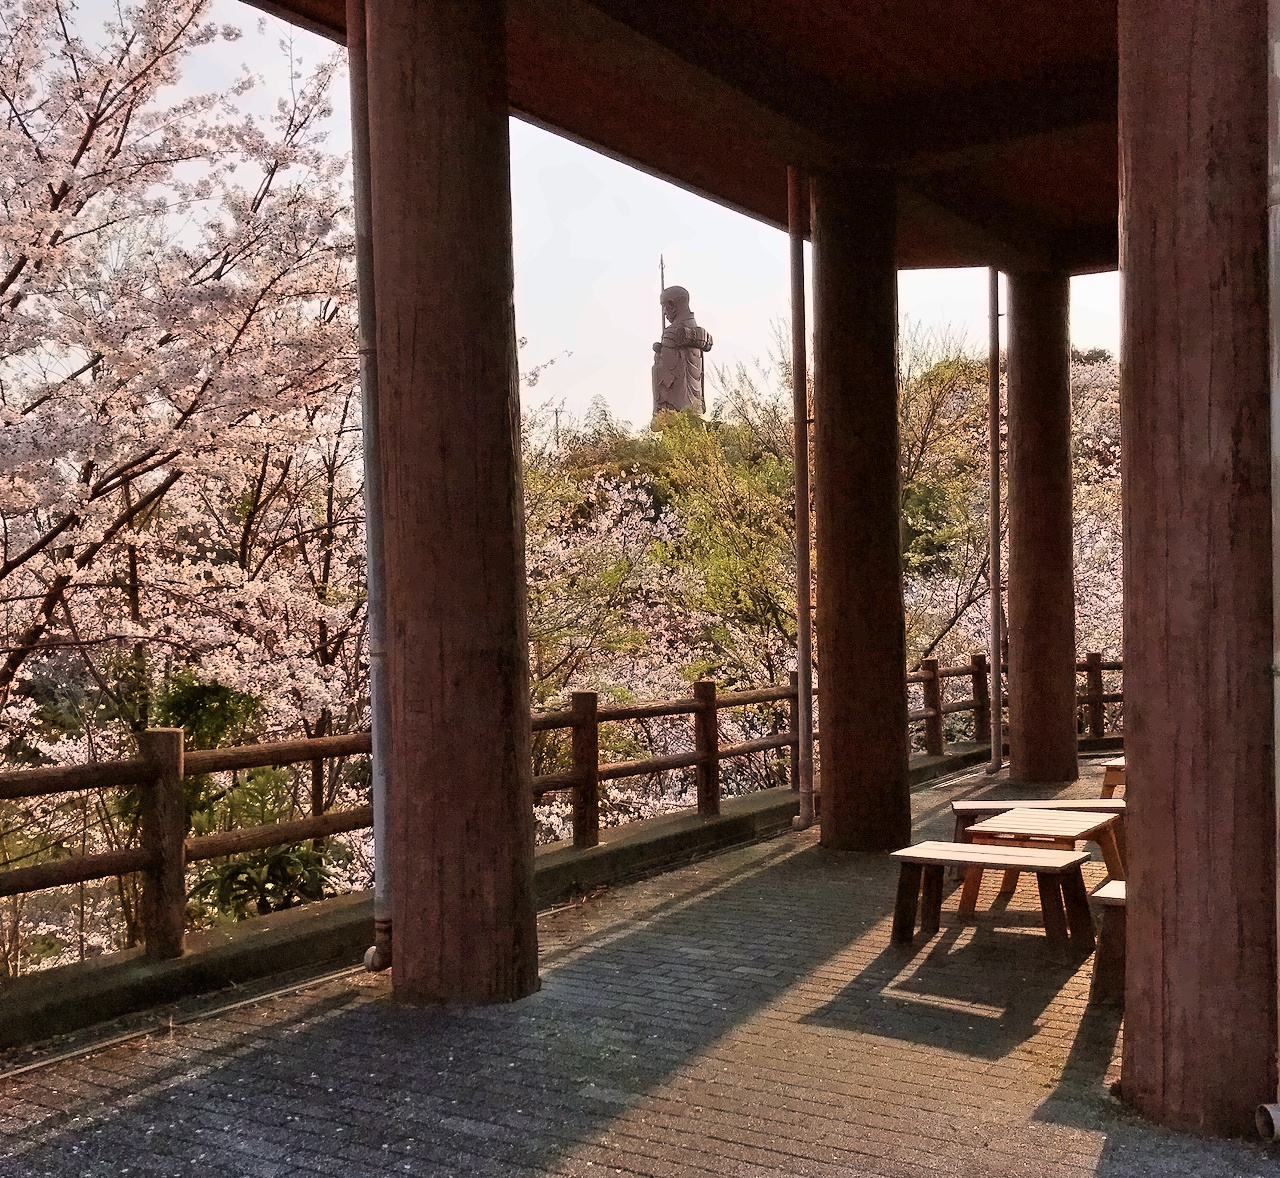
Fix Backlit Photo

Ad