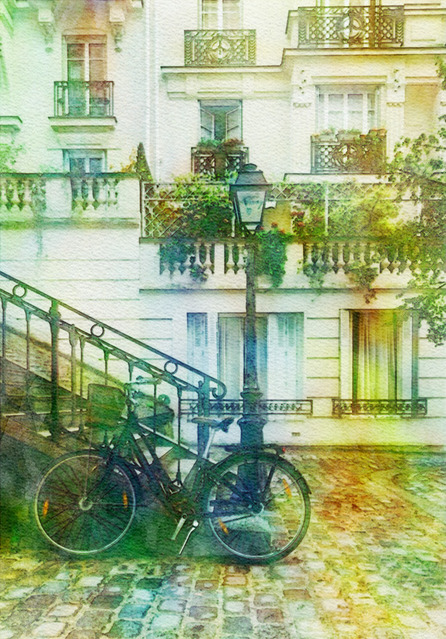
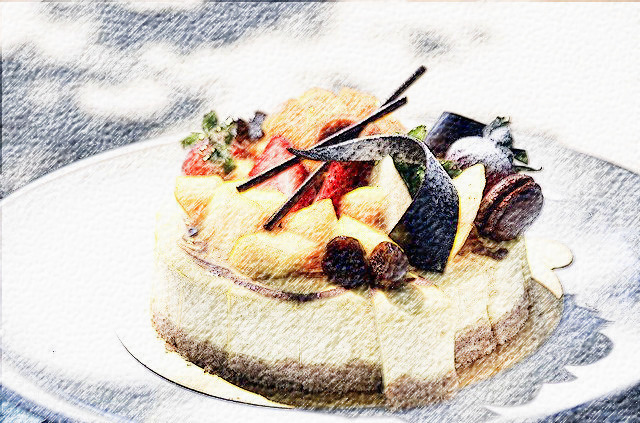
Sample Before

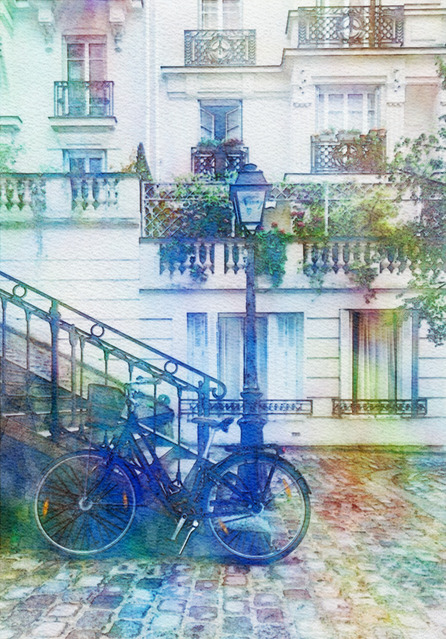
Sample After


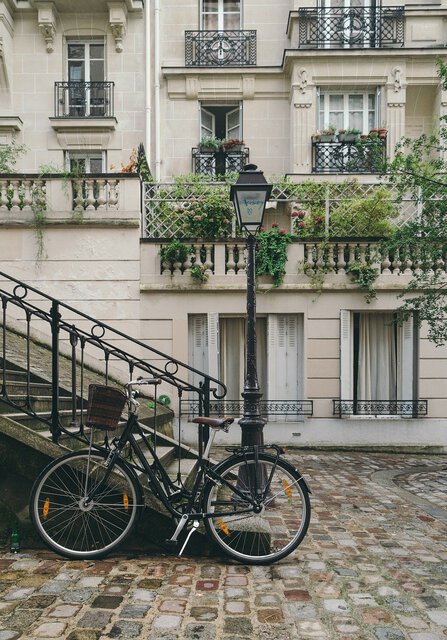
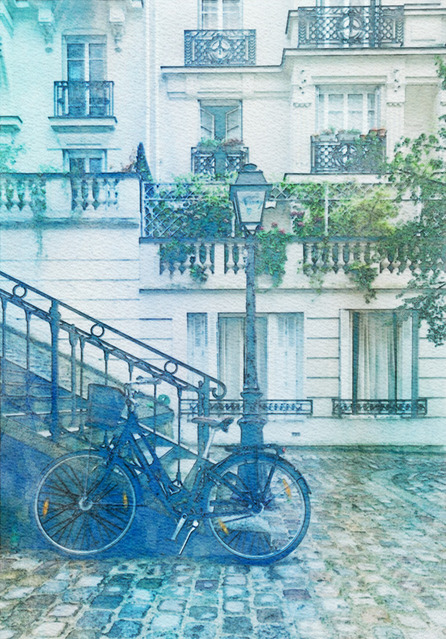
Original Image

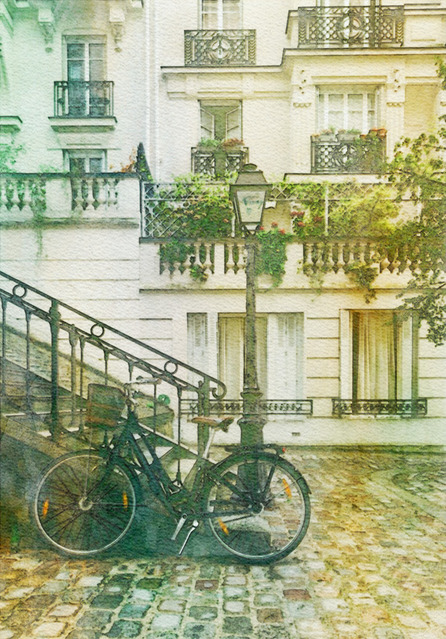
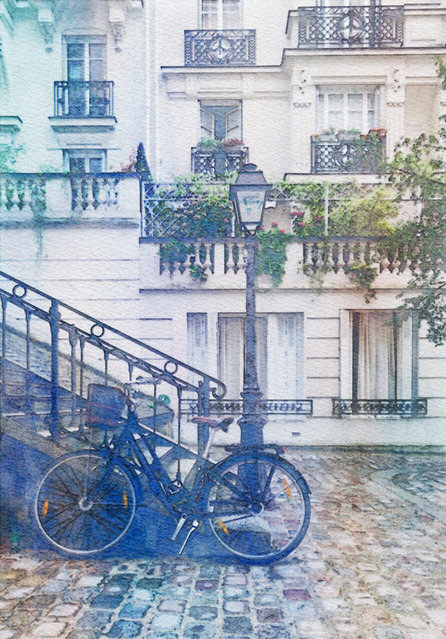
Default Settings

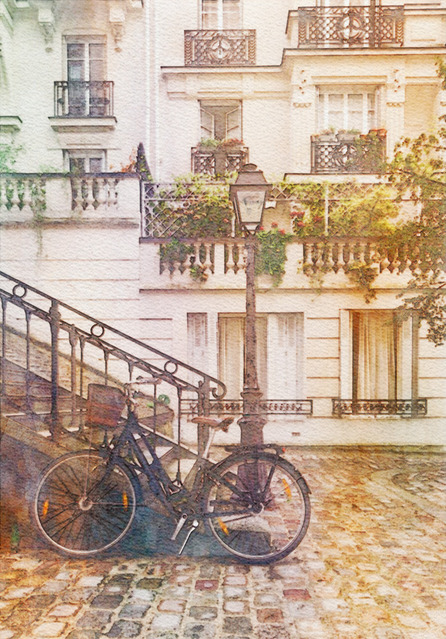
Base Color ■ / Add Highlights

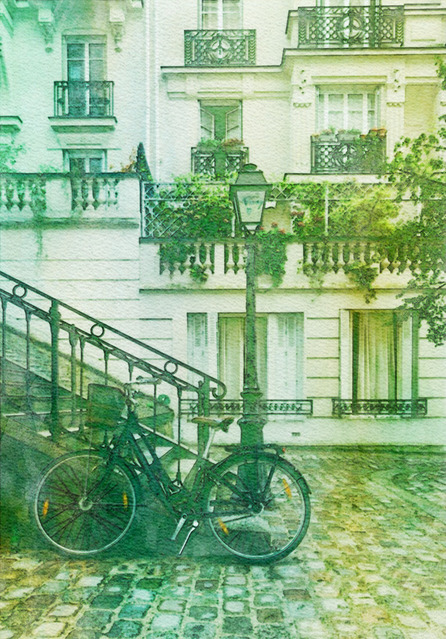
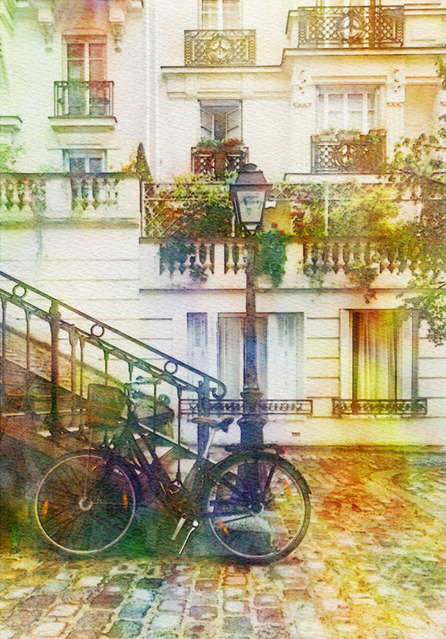
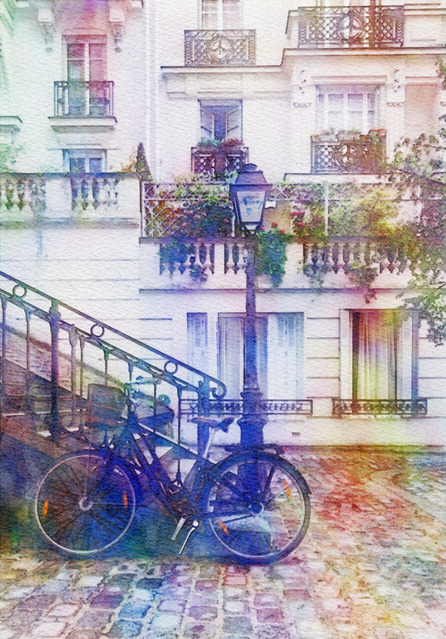
Base Color ■ / Without Vignettes
About This Feature
On this page, you can convert your photos (of landscapes, people, etc.) into watercolor style art.
The default settings will be fine, but you can also set details such as base colors and the presence or absence of vignettes if you want.
Supported file formats are JPEG, PNG, and GIF extensions.
The default settings will be fine, but you can also set details such as base colors and the presence or absence of vignettes if you want.
Supported file formats are JPEG, PNG, and GIF extensions.
How to Use
-
1Choose Your ImageClick the "Browse" button or drag and drop an image onto the screen.
-
2ConvertClick the "CONVERT FOR FREE" button.
-
3DownloadClick the "DOWNLOAD" button.
DataChef Features

Easy and Free
Unlimited conversions for free.
No technical knowledge required.
Intuitive and user-friendly operation.
No technical knowledge required.
Intuitive and user-friendly operation.

No Registration Required
Available immediately after access.
Can be used without registering personal information.
Can be used without registering personal information.

Safe and Secure
Fully SSL encrypted communication.
Automatic file deletion by clicking "download".
Automatic file deletion by clicking "download".

Fast
High-speed site access
and rapid file conversion.
and rapid file conversion.

No Watermark
No watermark.
No attribution required.
No attribution required.

Commercial Use Available
Free for commercial use.
No need to contact us for commercial use permission.
No need to contact us for commercial use permission.
About "Base Color"
Original Image
Base Color ■
Base Color ■
Base Color ■
Base Color ■
Base Color ■
Original Image
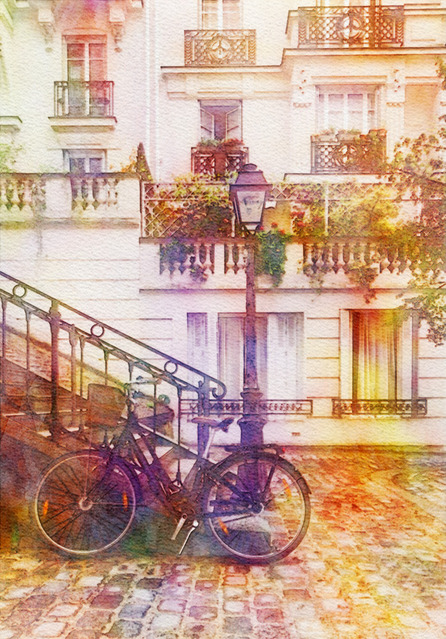
Base Color ■ x Rainbow Light
Base Color ■ x Rainbow Light
Base Color ■ x Rainbow Light
Base Color ■ x Rainbow Light
Base Color ■ x Rainbow Light
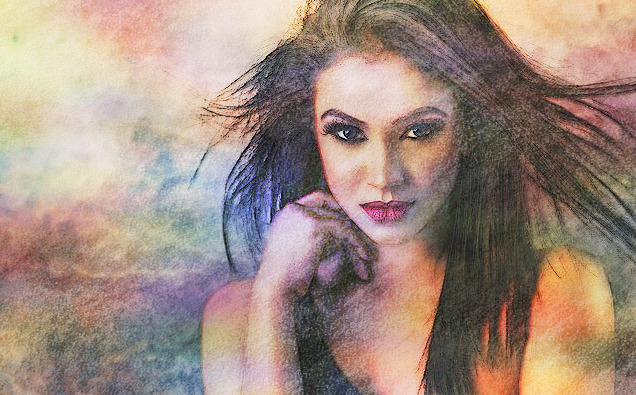
"Base Color"
You can set the "Base Color" (the color that takes up most of the whole) for the output painting.
The output image will look as if it were illuminated with a light of the base color.
It is recommended to choose from the preset colors in the color palette.
The default base color gives good results, especially for human portraits.
If you want to tweak colors, brighten the "Base Color" to create a soft atmosphere, and darken it to increase the contrast and give a clear impression.
"Shine Rainbow Light"
By checking the "Shine Rainbow Light" check box, the output image will be more colorful as if it were lit with rainbow light.
This setting is not suitable for human portrait because it changes the color of human skin to rainbow color.
Rather, it is suitable for landscape photography, because the setting makes landscapes look dreamy and fantasy.
"Add Highlights"
If you check the "Add Highlights" checkbox, the outline will become whitish and the bright part will look glows.
The output image will look highlighted with airbrushes or acrylic gouache after painted with watercolor.
This setting is suitable for emphasizing the brilliance of shining subjects such as snow flying in the sky, night views, and starry sky.
"With Vignettes"
If the "With Vignettes" checkbox is checked, the corners of the paper will be left unpainted.
By enabling this setting, the output will look more like a real watercolor, and when applied to a portrait photo, it will look more stylish.
With this setting, the composition will be cut off a little, so it is recommended to use a photo with a slightly wider composition.
About "Base Color"
Original Image
Base Color ■
Base Color ■
Base Color ■
Base Color ■
Base Color ■
Original Image
Base Color ■ x Rainbow Light
Base Color ■ x Rainbow Light
Base Color ■ x Rainbow Light
Base Color ■ x Rainbow Light
Base Color ■ x Rainbow Light
"Base Color"
You can set the "Base Color" (the color that takes up most of the whole) for the output painting.
The output image will look as if it were illuminated with a light of the base color.
It is recommended to choose from the preset colors in the color palette.
The default base color gives good results, especially for human portraits.
If you want to tweak colors, brighten the "Base Color" to create a soft atmosphere, and darken it to increase the contrast and give a clear impression.
"Shine Rainbow Light"
By checking the "Shine Rainbow Light" check box, the output image will be more colorful as if it were lit with rainbow light.
This setting is not suitable for human portrait because it changes the color of human skin to rainbow color.
Rather, it is suitable for landscape photography, because the setting makes landscapes look dreamy and fantasy.
"Add Highlights"
If you check the "Add Highlights" checkbox, the outline will become whitish and the bright part will look glows.
The output image will look highlighted with airbrushes or acrylic gouache after painted with watercolor.
This setting is suitable for emphasizing the brilliance of shining subjects such as snow flying in the sky, night views, and starry sky.
"With Vignettes"
If the "With Vignettes" checkbox is checked, the corners of the paper will be left unpainted.
By enabling this setting, the output will look more like a real watercolor, and when applied to a portrait photo, it will look more stylish.
With this setting, the composition will be cut off a little, so it is recommended to use a photo with a slightly wider composition.
Related Features
Picture to Pastel Art
Picture to Color Pencil Sketch
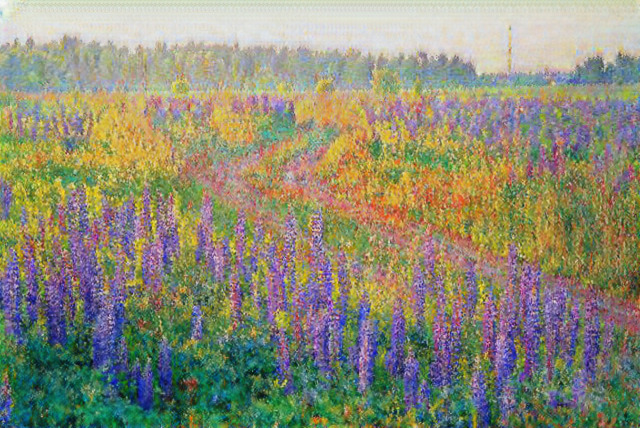
Photo to Monet's Oil Painting
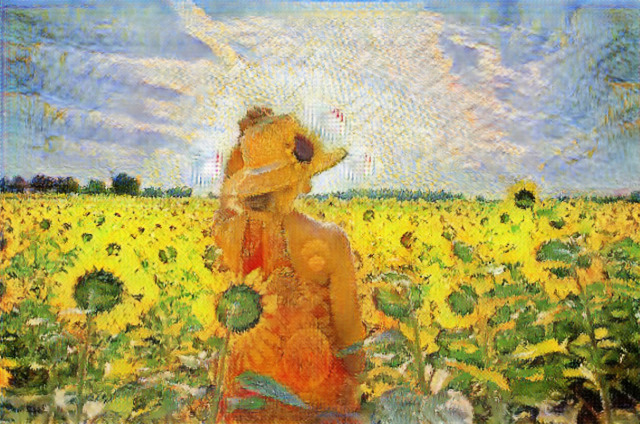
Photo to Gogh's Oil Painting
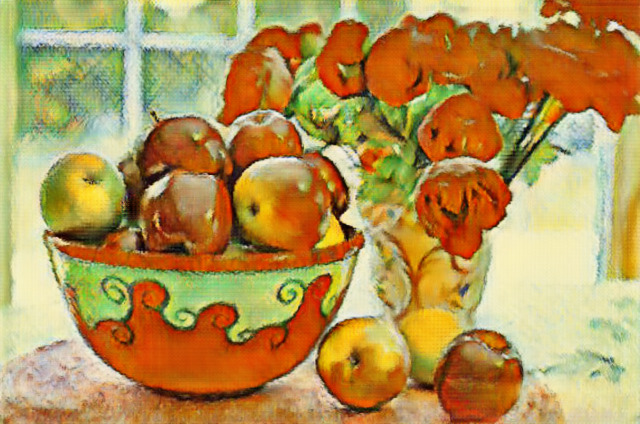
Photo to Cezanne's Oil Painting

Ad